Our Process
Services
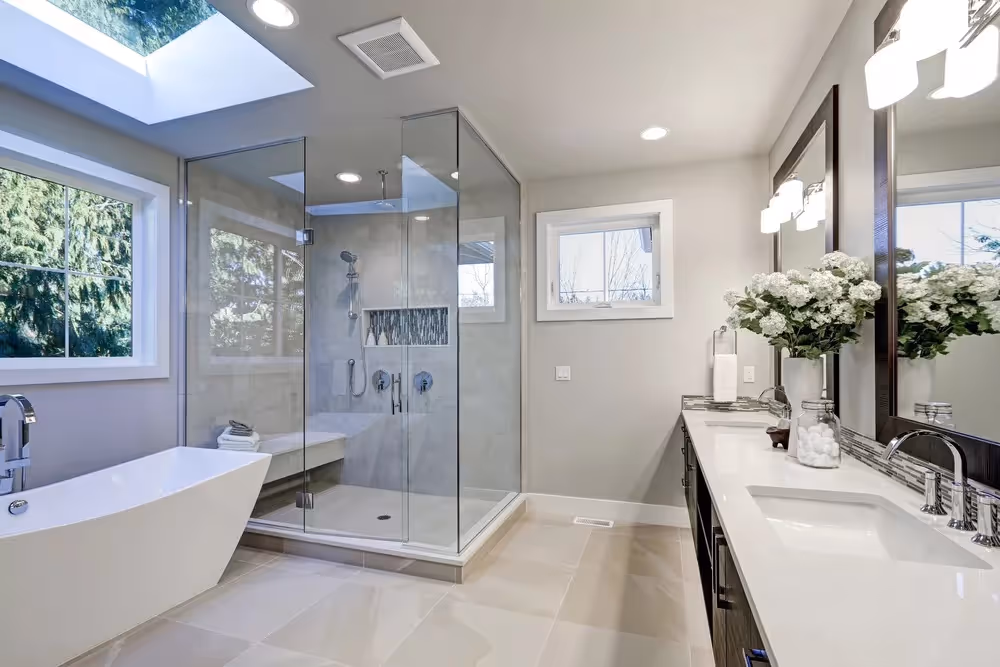
Plumbing
Tankless Water Heater
Drain Cleaning
Toilet Repair
Faucet Repair
Sink Installation & Repair
Garbage Disposal
Sump Pump Installation
Sewer Line Repair/Replacement
Boiler Repair Installation
Water Heater Repair
HALO Water Filtration
HVAC
Heating Installation
Heater Service Plans
Furnace Repair
Furnace Installation
Furnace Tune-Up
Smart Thermostats Installation
Humidifier Installation
Ductless HVAC Systems
Air Quality Solutions
HVAC
About Us
Membership
Financing
Reviews
Blog
Contact
Call (609) 465-3759
.avif)
.avif)